AI object cleanup

AI Magic Eraser for precise object, person, and text removal

Brush over an unwanted object, person, text, logo, or small distraction with the AI magic eraser. The AI magic eraser rebuilds only the selected area, while the source image, editable mask, zoom controls, and final review stay under your control.

Pixel-aligned mask Object, person and text modes Preview before processing

Clean edits

See how an AI magic eraser cleans different scenes

The examples below show how an AI magic eraser can remove street clutter, visible text, temporary props, portrait distractions, and small illustrated objects. Paint only the area that should disappear, give the AI magic eraser enough surrounding context, and review every reconstruction because results vary by scene.

Clear tourists and street clutter with an AI magic eraser

BeforeAfter

Clean edits

Clear tourists and street clutter with an AI magic eraser

Travel photos often contain passersby, bins, cables, cones, or temporary objects that pull attention away from the location. Use the AI magic eraser to cover the complete distraction and any connected shadow. The AI magic eraser can then reconstruct nearby stone, sky, pavement, or architecture from surrounding context, helping the edited scene feel calmer without flattening the texture that makes the place recognizable.
Erase unwanted text and small logos
BeforeAfter

Clean edits

Erase unwanted text and small logos

Brush over unwanted lettering, a small logo, label, or graphic mark and let the AI magic eraser rebuild the surface beneath it. Product packaging, walls, fabric, and simple backgrounds usually provide useful context when the mask is accurate. Zoom in before starting the AI magic eraser task so the selection includes softened edges without covering important nearby text or object contours.

Tidy product scenes before publishing
BeforeAfter

Clean edits

Tidy product scenes before publishing

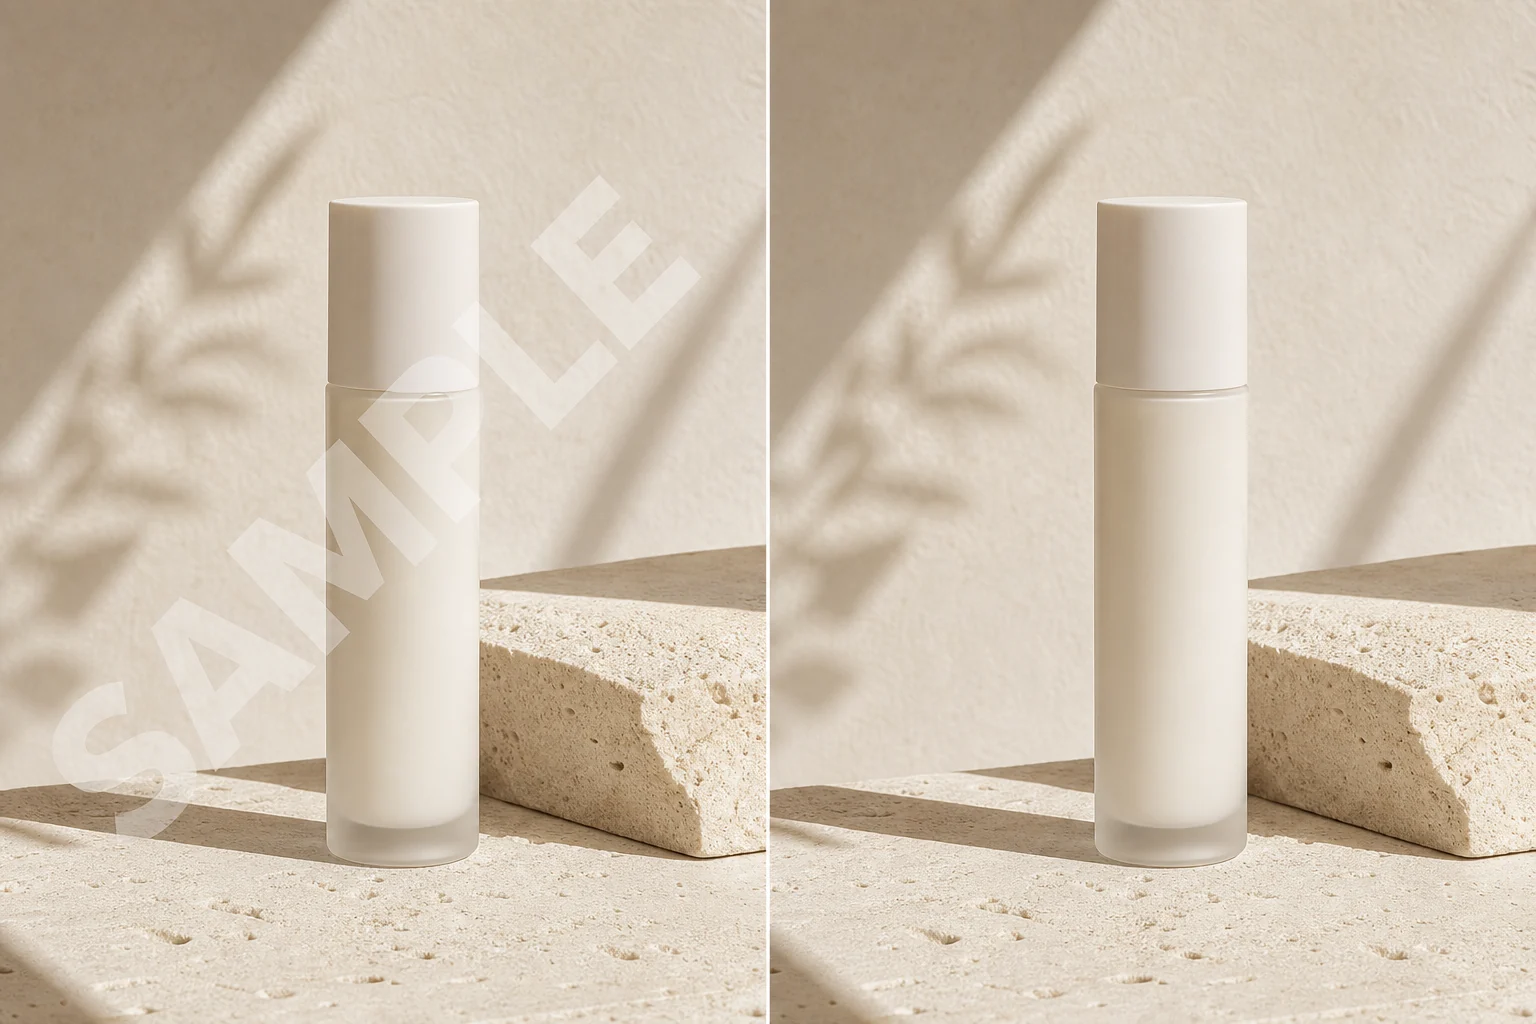
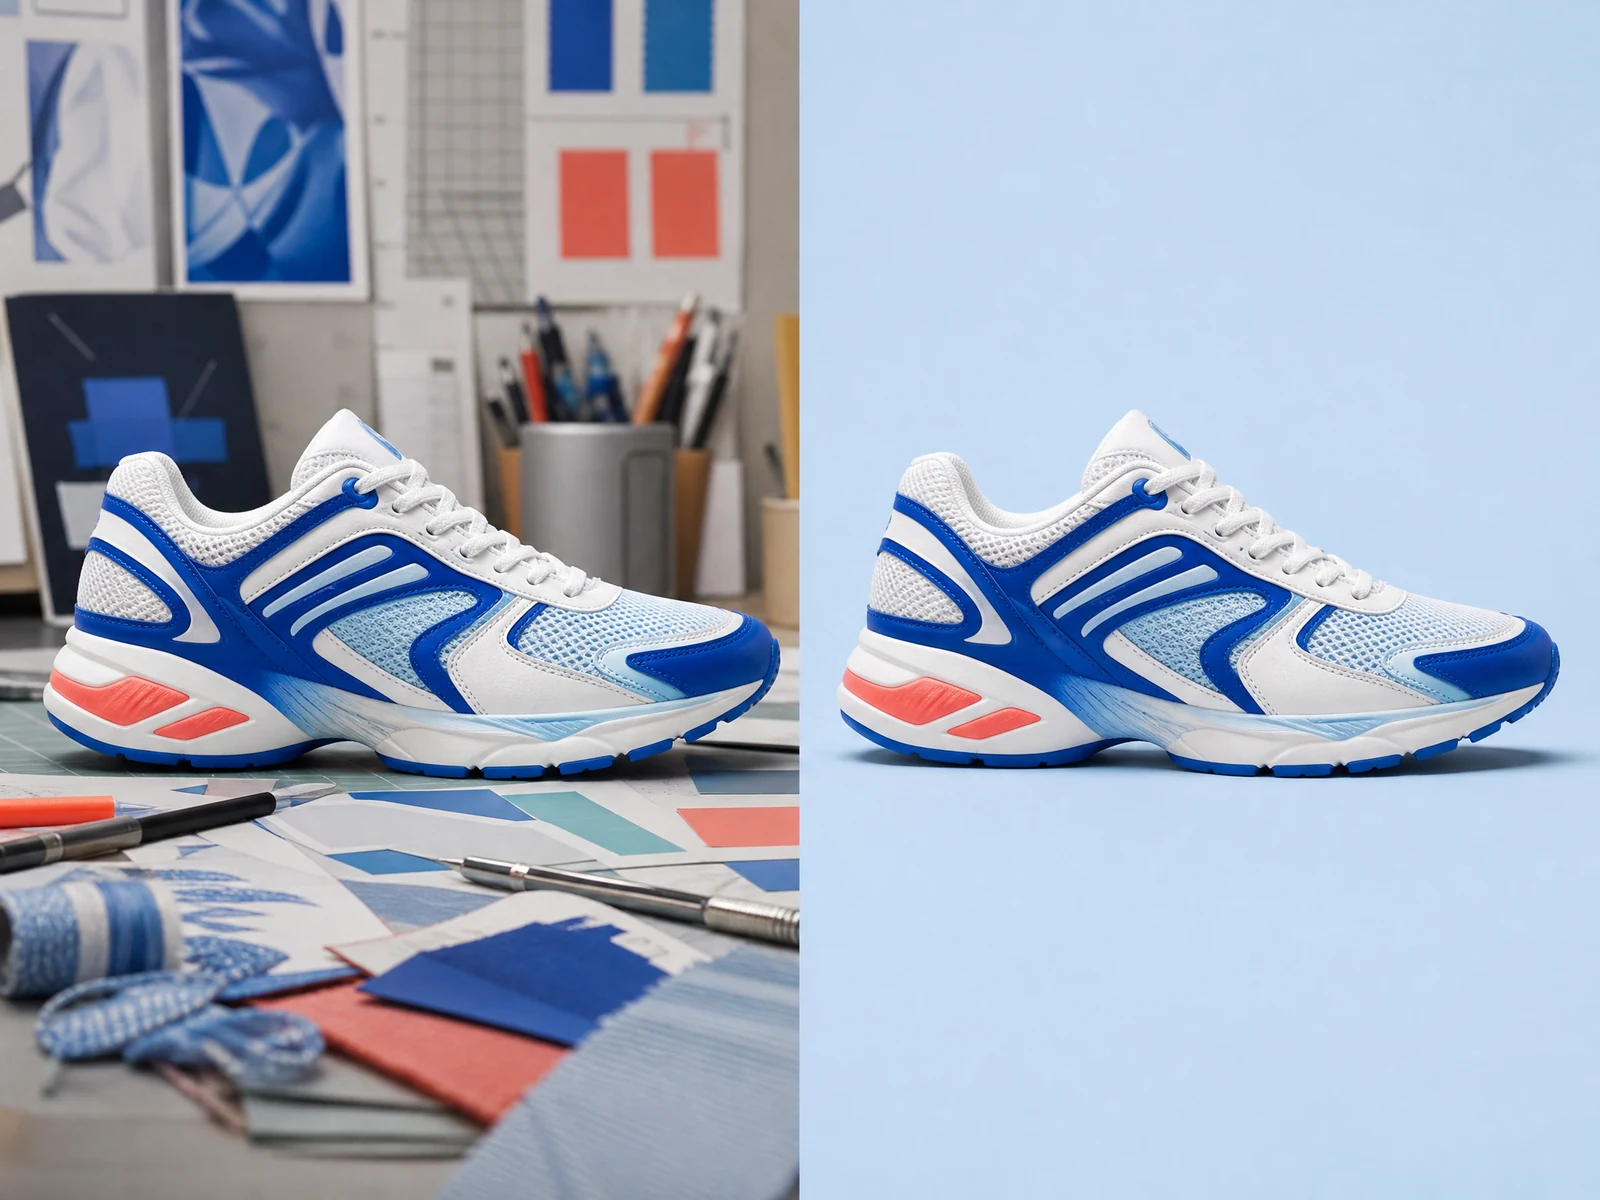
Temporary props, dust, tags, reflections, cables, and setup clutter can make a strong product photo look unfinished. The AI magic eraser lets you target those distractions while preserving the main product, its silhouette, and existing lighting. Use a smaller AI magic eraser mask near polished edges and branded details, then compare the reconstructed surface at full size before adding the image to a listing or campaign.

Simplify busy portrait backgrounds
BeforeAfter

Clean edits

Simplify busy portrait backgrounds

A bright sign, studio stand, wall fixture, or background object can compete with a portrait. Mark only the distraction with the AI magic eraser and keep the mask away from hair, hands, clothing, and facial features whenever possible. After the AI magic eraser finishes, inspect transitions around the subject closely because fine hair and repeated background lines require more careful reconstruction.

Remove small props from creative artworkRemove small props from creative artwork
BeforeAfter

Clean edits

Remove small props from creative artwork

Illustrations and stylized artwork often contain repeated brush textures, outlines, and decorative patterns that should remain consistent. Use a small AI magic eraser brush to isolate a prop or local distraction without covering the surrounding composition. The AI magic eraser will infer the missing colors and texture, so examine line continuity and painted detail before exporting the cleaned artwork.

Controlled cleanup

An AI magic eraser focused on the area that needs fixing

The AI magic eraser keeps every editing decision visible. You choose the exact region, refine the mask with undo and unmark controls, select the appropriate removal mode, and submit one intentional AI magic eraser task instead of asking a hidden detector to edit the whole image.

01

High-resolution mask

The AI magic eraser exports a black-and-white mask that matches the source image dimensions. Zooming and panning change only the editor view, so brush strokes remain aligned with the original pixels throughout the cleanup workflow.

02

Task-specific modes

Object, person, and text or logo modes let the AI magic eraser use a fixed server-side instruction suited to the cleanup goal. Choosing the closest mode gives the reconstruction clearer context without requiring a long prompt.

03

Edits stay reversible

Undo, redo, unmark, brush-size, and clear controls let you refine the selection before the AI magic eraser starts cloud processing. You can correct mask mistakes locally without spending credits on an avoidable task.

04

No hidden automatic mask

The blue overlay is the exact region submitted to the AI magic eraser. The tool does not silently add a destructive automatic mask, making it easier to protect faces, product edges, lettering, and other details outside the intended edit.

Three-step workflow

How to remove unwanted content with the AI magic eraser

Use the AI magic eraser in three clear steps: upload the strongest source image, mark only the content that should disappear, and review the reconstructed area at full size before downloading.

01

Upload and inspect

Open a supported image and zoom in on the object, person, text, or logo you want the AI magic eraser to remove. A clear source with visible surrounding texture gives the model better reconstruction context.

02

Paint the removal mask

Choose the matching mode, adjust the brush size, and cover the complete unwanted area. Keep the AI magic eraser mask close to the object's edges so nearby details remain available as reconstruction context.

03

Process and review

Sign in, start one cloud task, and compare the AI magic eraser reconstruction with the source. Inspect repeated lines, faces, text, and object boundaries before downloading the completed image.

Related image tools

After the AI magic eraser removes a distraction, separate the subject, increase resolution, or guide a broader visual change with one of these related image tools.

AI magic eraser questions

Learn how the AI magic eraser uses a manual mask, task-specific modes, cloud processing, credits, and full-size review to remove unwanted content from a photo.

What can the AI magic eraser remove?

The AI magic eraser is designed for visible objects, people, text, logos, cables, signs, props, and small distractions that you can cover with the brush. Results depend on the selected area, the complexity of the background, and how much nearby context the AI magic eraser can use to reconstruct the missing scene.

Why do I need to paint a mask?

The mask tells the AI magic eraser exactly which pixels may be rebuilt. Keeping that selection visible gives you direct control, makes accidental coverage easier to correct, and helps protect important details outside the intended edit.

Does zooming change the mask alignment?

No. Zoom and pan change only the editor view. The AI magic eraser stores the mask at the source image dimensions and exports it at the same width and height, so the selected pixels remain aligned when the cloud task begins.

Are my images uploaded immediately?

No. File validation, preview, mode selection, and mask drawing happen in the browser. The source and same-size mask upload only after you sign in and deliberately start the AI magic eraser cloud task.

Will every erased area look perfect?

No AI reconstruction is guaranteed. The AI magic eraser usually has more context when the unwanted area is small and surrounded by consistent texture. Large subjects, repeated geometry, faces near the selection, and text-heavy backgrounds are harder, so review the generated result at full size.

Clean up the part that pulls attention away

Upload one image, paint the distraction, and let the AI magic eraser rebuild the selected area. Compare the result with the original and keep it only after the reconstructed texture looks natural.

Open the mask editor